

Hello foodies,
Easter is approaching fast, and I wanted to make my own chocolate eggs this year. It seems like a simple recipe, but is it really that easy?
Let me tell you all about it!
Here are my chocolate Easter eggs!

Let’s demystify the process.
Making your own chocolate Easter eggs is not complicated. All you need is chocolate (unless you’d like to add almond flakes, puffed rice, etc.). However, you’ll want to follow a few guidelines that will enhance both the appearance and taste of your creations.
In summary: melt the chocolate, pour it into your molds or shells, chill in the refrigerator, and then unmold! It’s as simple as that!
We’ll use the same technique for the eggs and for fillings.
After this, you’ll be ready to try my cheesecake-style Easter eggs or even my chocolate and citrus Easter shells.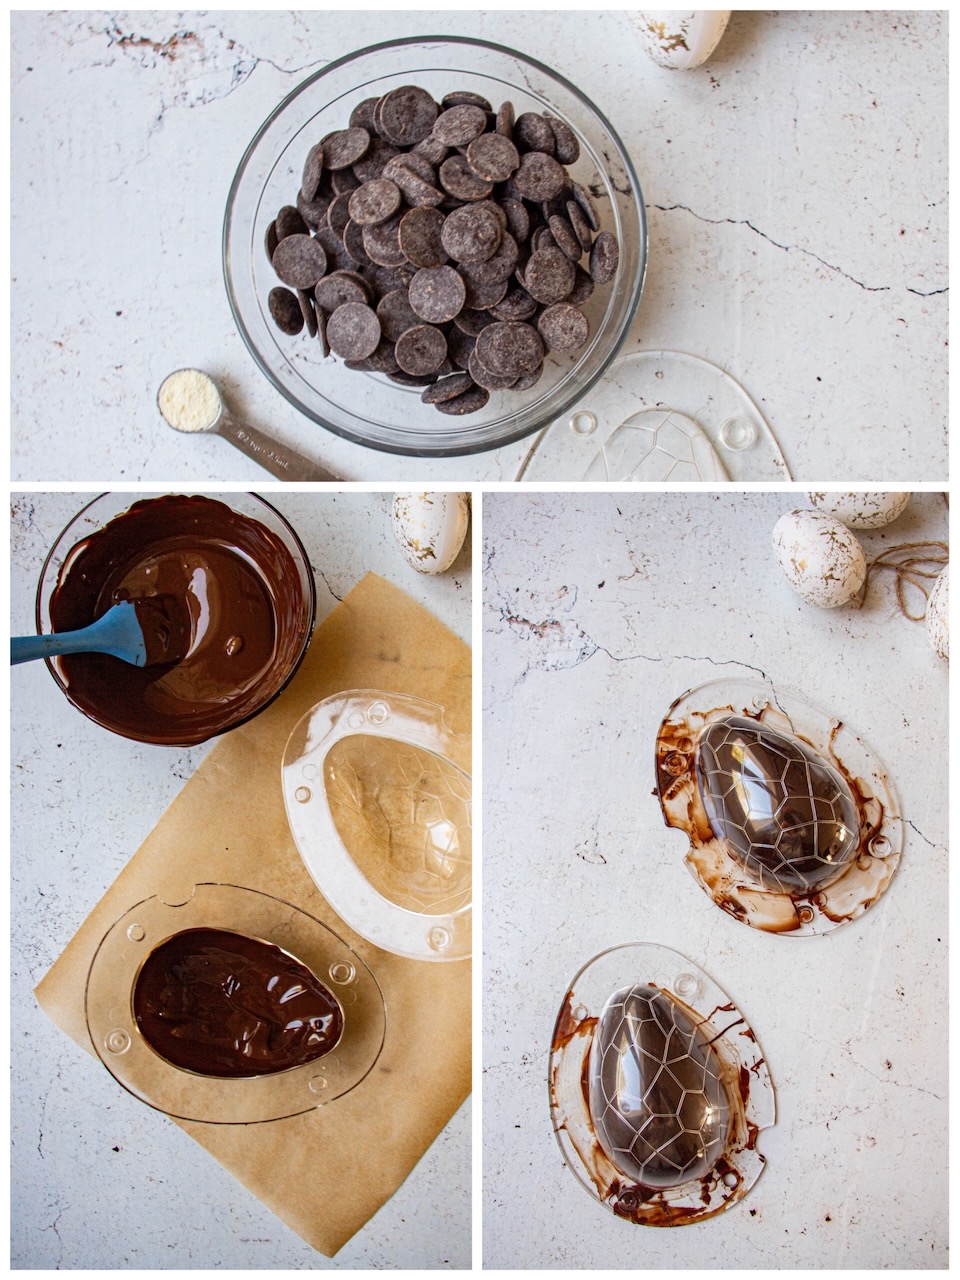
Tempering chocolate: achieving perfect shells for your Easter eggs
Mastering chocolate tempering is crucial for successfully creating your homemade cheesecake-style Easter eggs. While you can use pre-made shells, crafting your own chocolate shells provides a more gratifying and rich result.
Chocolate tempering gives a professional finish, improving several key aspects:
– A glossy and smooth chocolate
– Easy demolding
– A clean and crisp snap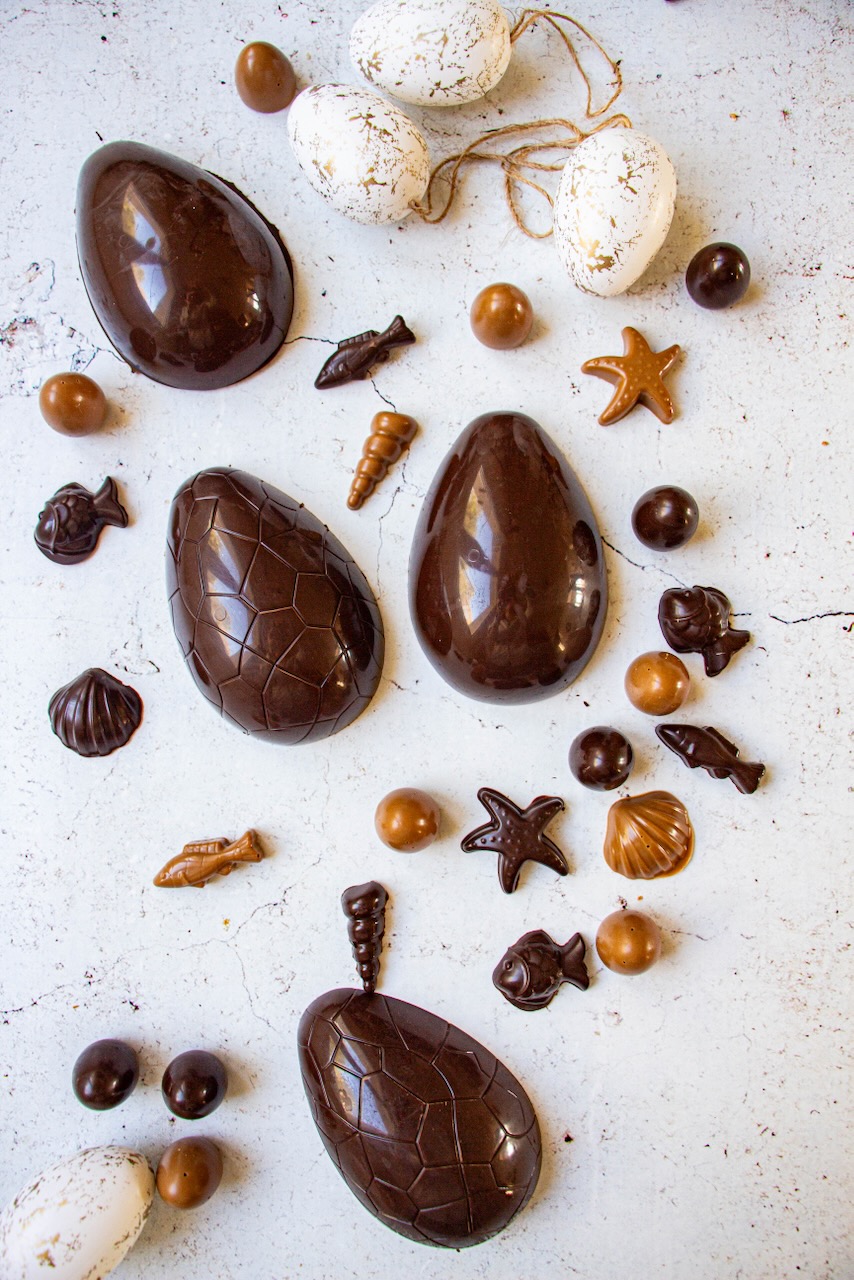 To successfully make your homemade chocolate shells, it’s essential to follow a precise method. Tempering involves melting the chocolate and then controlling its temperature through various stages. You first heat the chocolate, allow it to cool, and finally slightly reheat it. This temperature curve ensures optimal crystallization of the cocoa butter.
Each type of chocolate requires its own specific curve. Dark chocolate, milk chocolate, and white chocolate have different temperature needs. For the best results, choose quality chocolate brands like Cacao Barry or Valrhona, which typically provide the ideal temperatures right on the packaging.
By mastering chocolate tempering, you can create perfect Easter shells that would impress any pastry chef. This step elevates your homemade creations into elegant, shiny, and irresistible desserts.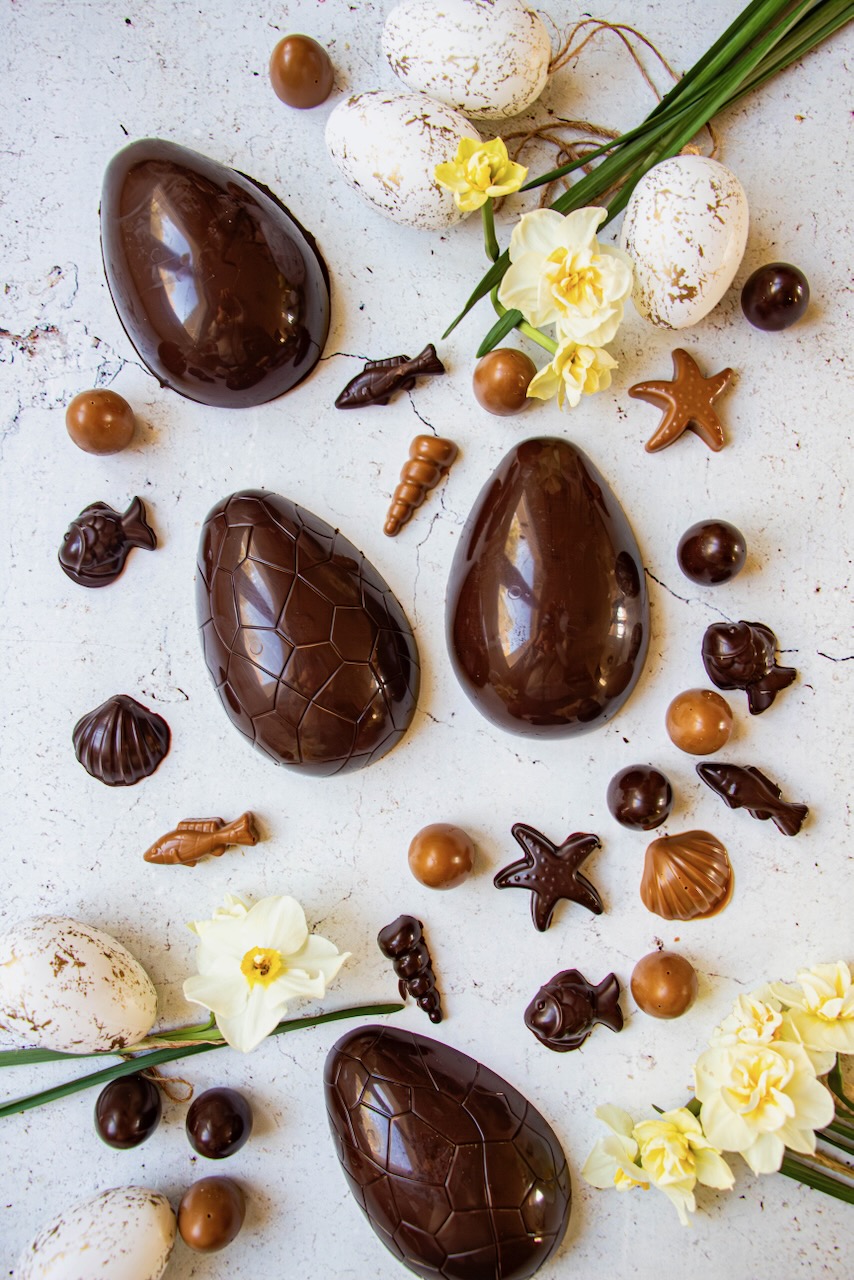
Demolding eggs from rigid molds
To easily unmold a chocolate egg from a rigid plastic shell, precision is key to avoid breaking the chocolate.
First, ensure that the chocolate has properly crystallized. Place the mold in the refrigerator for about 20 to 30 minutes. Well-set chocolate slightly retracts from the mold, making it easier to unmold.
Next, examine the shell: if the chocolate has begun to pull away from the edges, you can attempt to unmold it. Invert the mold onto a clean work surface and gently tap it. Avoid sudden motions to prevent cracking.
If the chocolate remains stuck, try another technique: gently tap all over the rigid shell with a wooden spoon.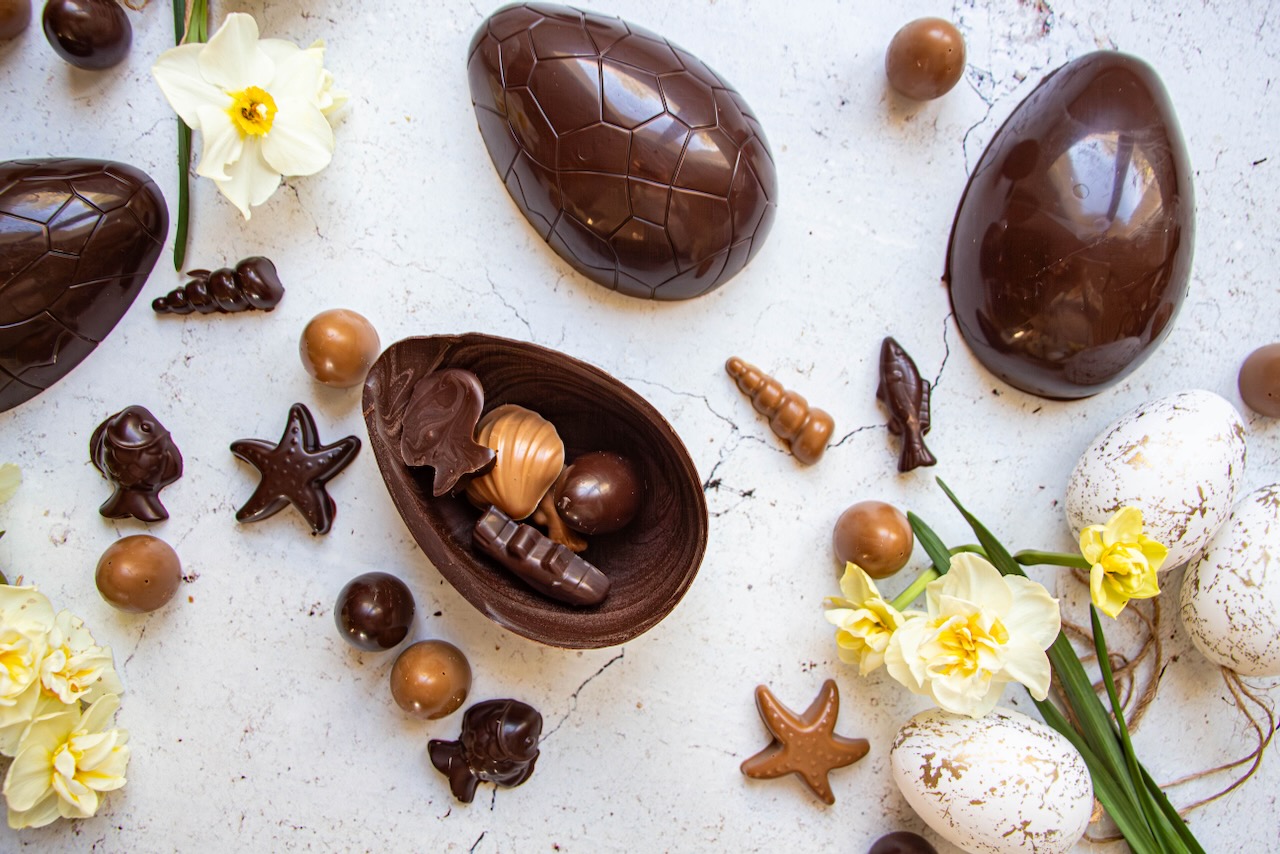 If this method doesn’t work, warm the outside of the mold slightly. You can quickly rub your warm hands over the shell or use a warm (not hot) cloth. This gentle heat helps to release the chocolate without melting it.
Another effective tip is to apply slight pressure to the rigid mold. Gently deform it to create a small gap for air between the plastic and the chocolate.
Finally, always handle the egg with dry, cool hands. The warmth from your fingers can leave marks or soften the chocolate.
With these simple techniques, you will achieve a clean release and a beautiful chocolate egg without any breakage.
Tempering chocolate with Mycryo: an easy method for perfect shells
To successfully temper your homemade chocolate, you can use Mycryo® cocoa butter. This method simplifies the creation of shiny and crisp chocolate shells for your desserts.
Start by melting the chocolate to a temperature of 104-113°F (40-45°C), either in the microwave or using a double boiler. If using a microwave, heat in 30-second intervals to avoid burning the chocolate. Allow the temperature to drop to 93-95°F (34-35°C) for dark chocolate, or to 91-93°F (33-34°C) for milk, white, or colored chocolate.
Then, add 1% of Mycryo® cocoa butter and mix thoroughly. This step facilitates optimal crystallization and ensures perfectly tempered chocolate.
When the chocolate reaches its ideal temperature (88-90°F / 31-32°C for dark, 84-86°F / 29-30°C for others), use it immediately. Maintain this temperature to extend its usability.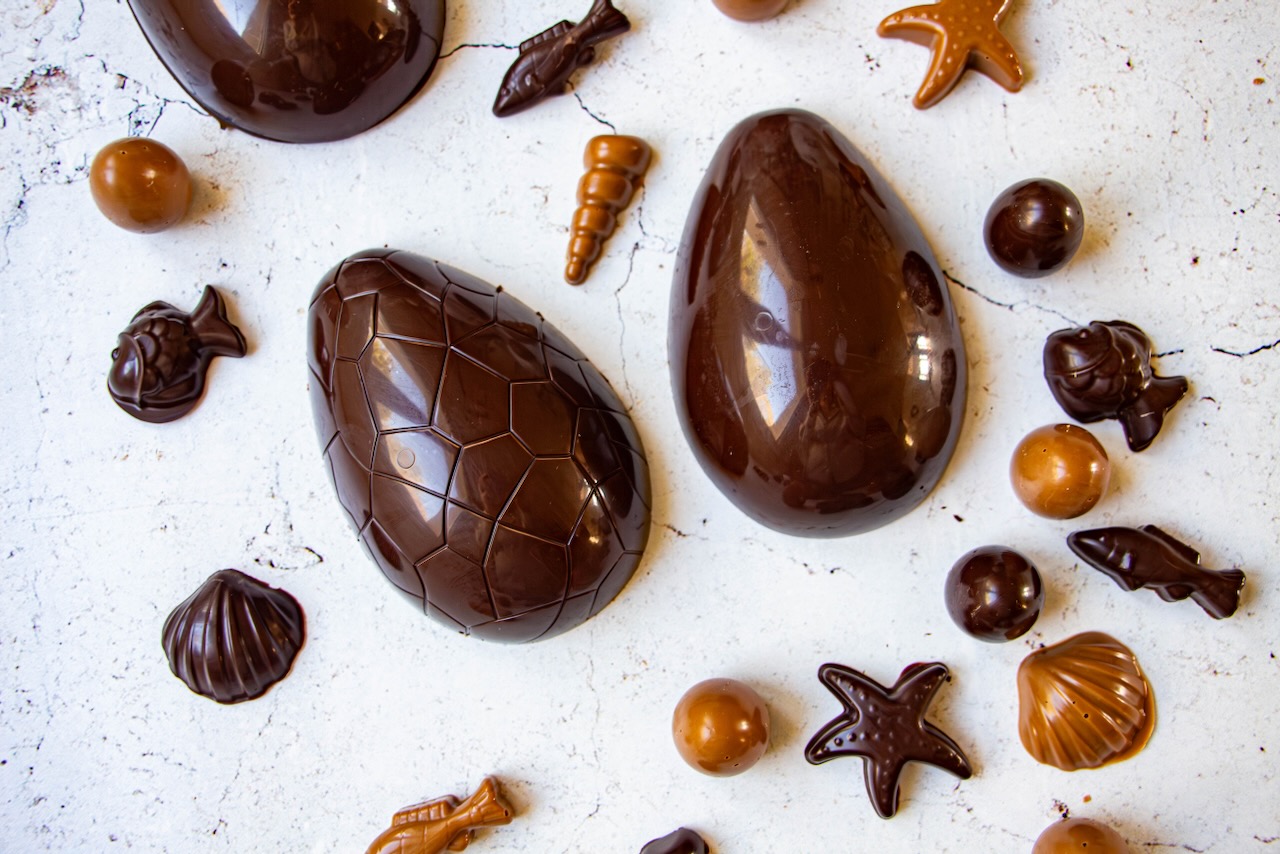 Pour the chocolate into your molds, spreading it evenly for a consistent thickness. Invert the mold to remove any excess chocolate, then smooth the edges with a spatula to facilitate demolding.
Allow it to cool until the chocolate loses its shiny appearance. When you invert the mold again, the shell should easily come out. If needed, give it a gentle twist.
With this technique, you’ll achieve crisp, shiny, and professional-looking chocolate shells.
There you have it! Happy Easter, and enjoy the chocolate!

No Comments